


A Thousand Years Wedding First Dance | Viennese Waltz by DWTS Pro Anna Trebunskaya
A Thousand Years as a Viennese Waltz in American Smooth style. By Dancing with the Stars pro Anna Trebunskaya. EASY choreography for your first wedding dance.

If you want your first dance to have one unforgettable moment, make it this.
There’s a reason this dip shows up in so many professional wedding dances: it’s classic, elegant, easy to learn—and when done correctly, it makes for the perfect photo.
But here’s what most couples don’t realize:
two small details are what allow this dip to look dramatically better and feel effortless—no pain, no strain, no white-knuckling your partner.
In this tutorial, Dancing With the Stars pro Anna Trebunskaya breaks down the most requested wedding dance dip step by step—then we’ll reveal the two pro-level adjustments dancers use to dip lower, longer, and more comfortably.
Fun fact, this is the dip that almost every Dancing With the Stars pro teaches their celebrities because it's so low-effort, high-impact!
This move—often called a roll-in dip—is incredibly versatile. It flows naturally into choreography and works beautifully across styles.
It fits seamlessly into:
Ballroom dances: Waltz, Foxtrot, Tango, Quickstep
Latin dances: Rumba, Cha Cha, Samba, Jive, Salsa
Whether your first dance is romantic and sweeping or playful and upbeat, this dip adds a guaranteed “wow” moment—without requiring advanced technique.
Anna demonstrates the dip at full speed first (so you can see how polished it looks), then breaks it down in a way that’s approachable even if you’ve never danced before.
The leader begins with feet slightly apart, creating a strong, grounded base. This foundation is what allows the dip to feel stable rather than rushed or unbalanced.
The leader gives a gentle pull—not forceful, just enough to signal the movement. When the follower feels this cue, she rotates smoothly inside the arm.
As the follower continues rotating, the leader places a supportive hand on her back. The follower keeps spinning until her arm is securely around the leader’s back—this connection is essential for control.
Once connected:
Both partners bend their knees slightly
Maintain a strong frame
Move smoothly into the dip
And just like that—ta-da. A dip that looks dramatic and intentional.
(And Why This Dip Suddenly Looks Unreal)
This is where the magic happens.
These two details don’t just improve how the dip looks—they’re what allow you to dip lower, more comfortably, and with far more control.
Instead of letting your hips and seat sink downward, think about lifting your pelvis upward as you lean back.
Your lower back stays relaxed—no strain, no forcing—but the shape of your body becomes closer to:
a bridge pose in yoga, or
that iconic backward lean from The Matrix (if you know, you know)
When you keep the pelvis lifted:
Your spine stays supported
Your balance improves dramatically
You can dip much lower without discomfort
Most people are genuinely surprised when they try this at home and realize how far they can bend backward without any support at all.
Important reminder:
Relax your lower back. No tension. Just keep the pelvis lifted and the line long.
We know—we sound like a broken record. But it matters that much.
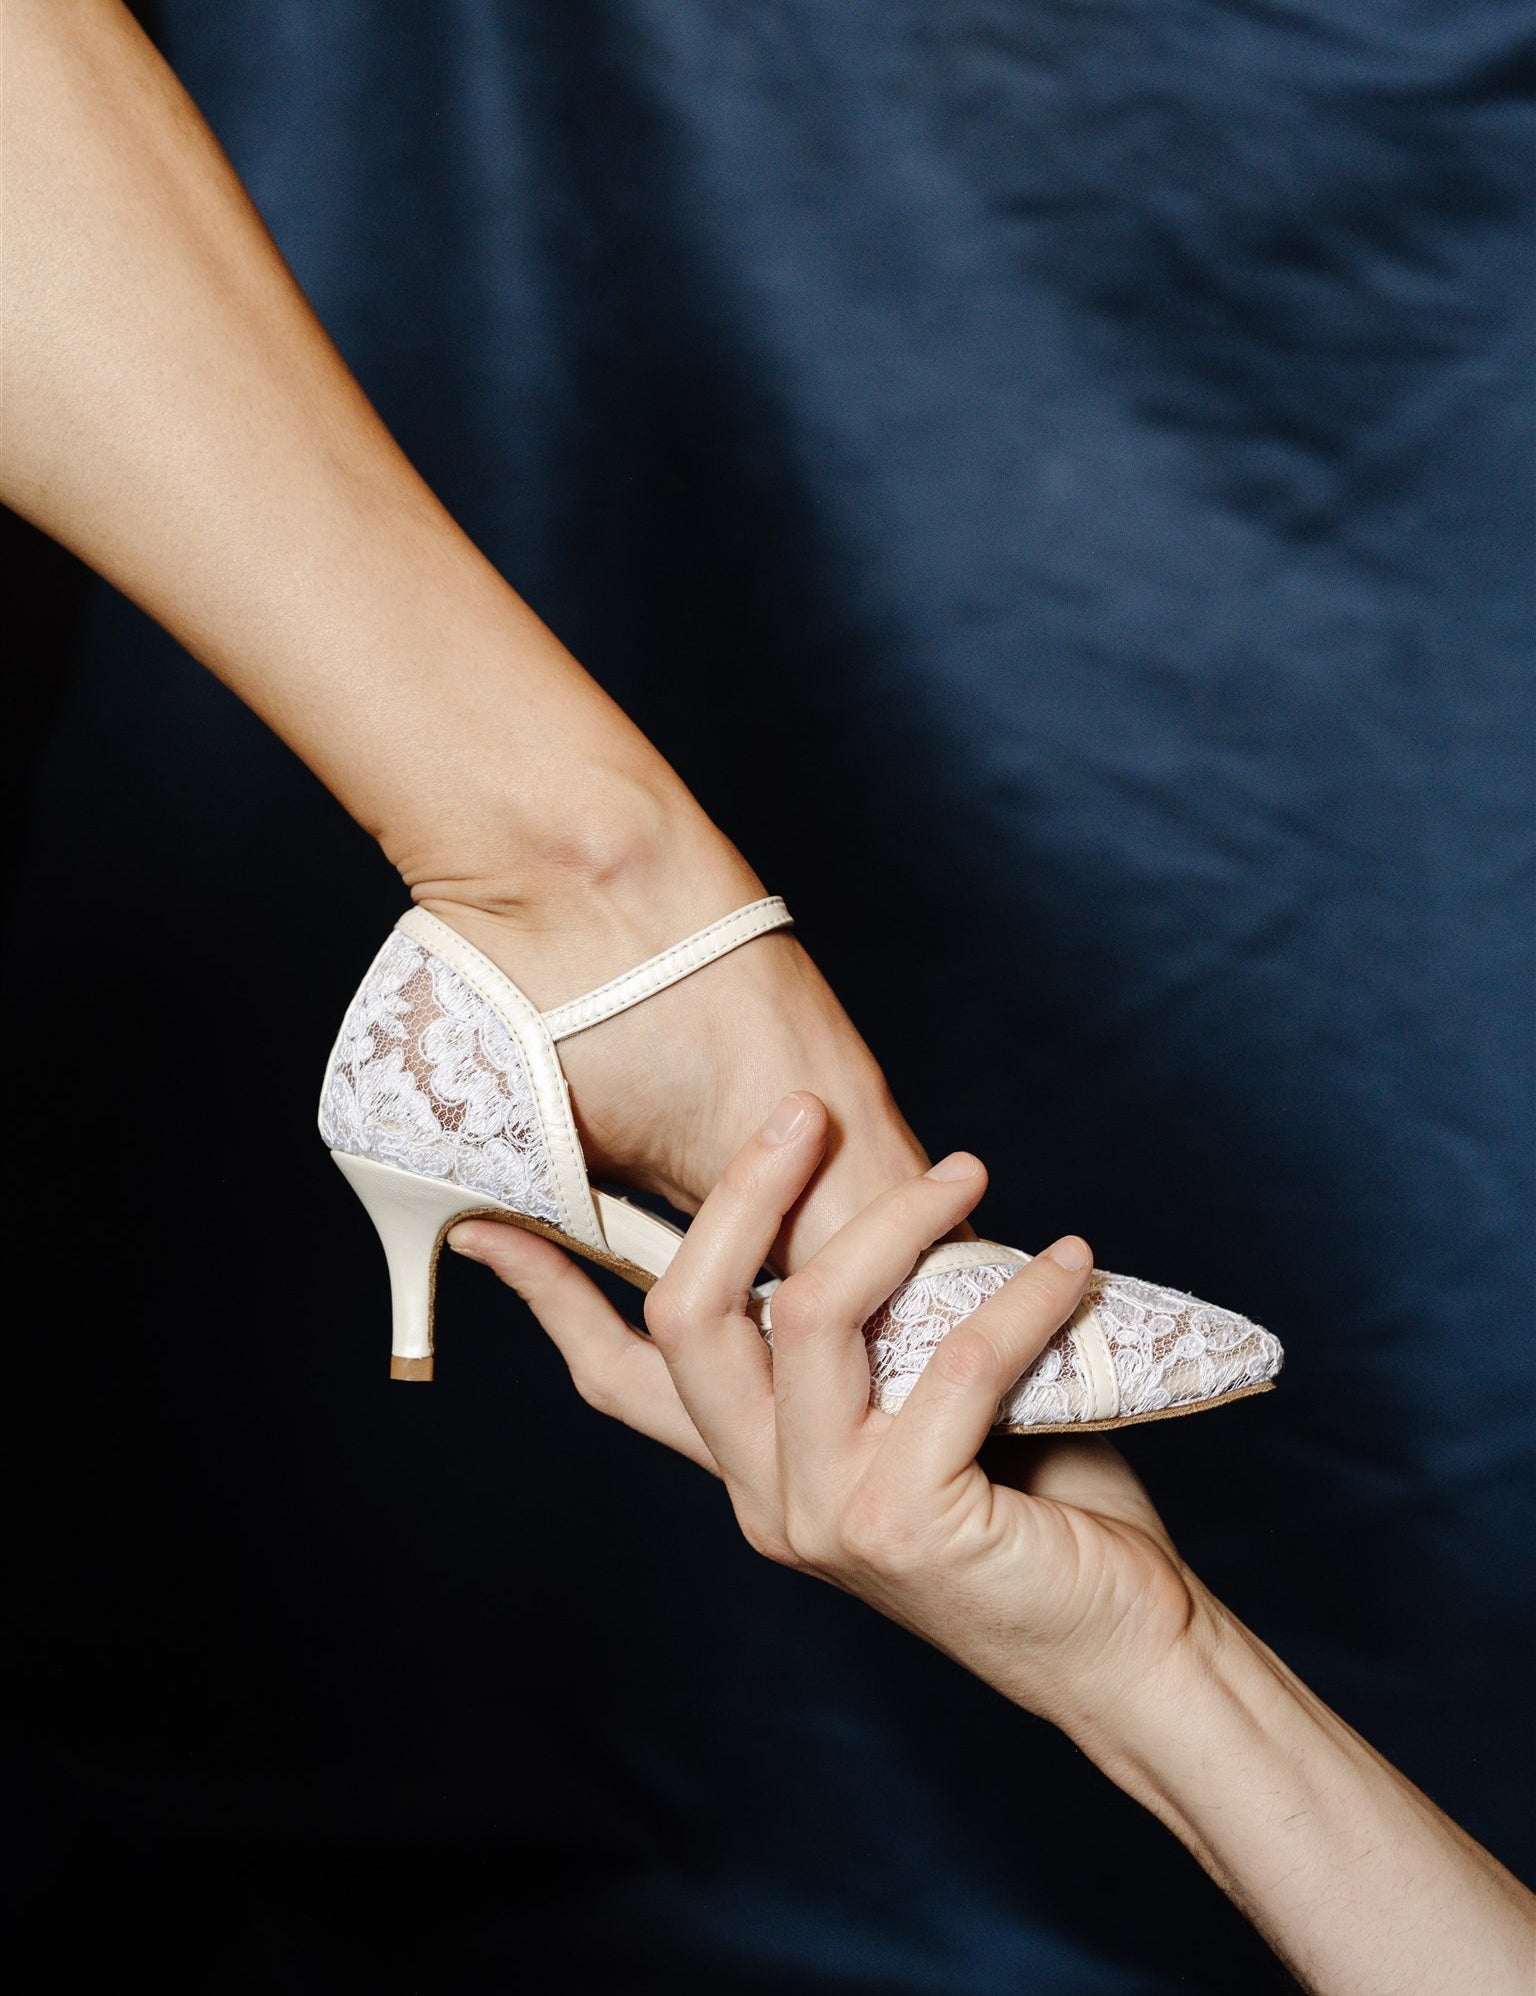
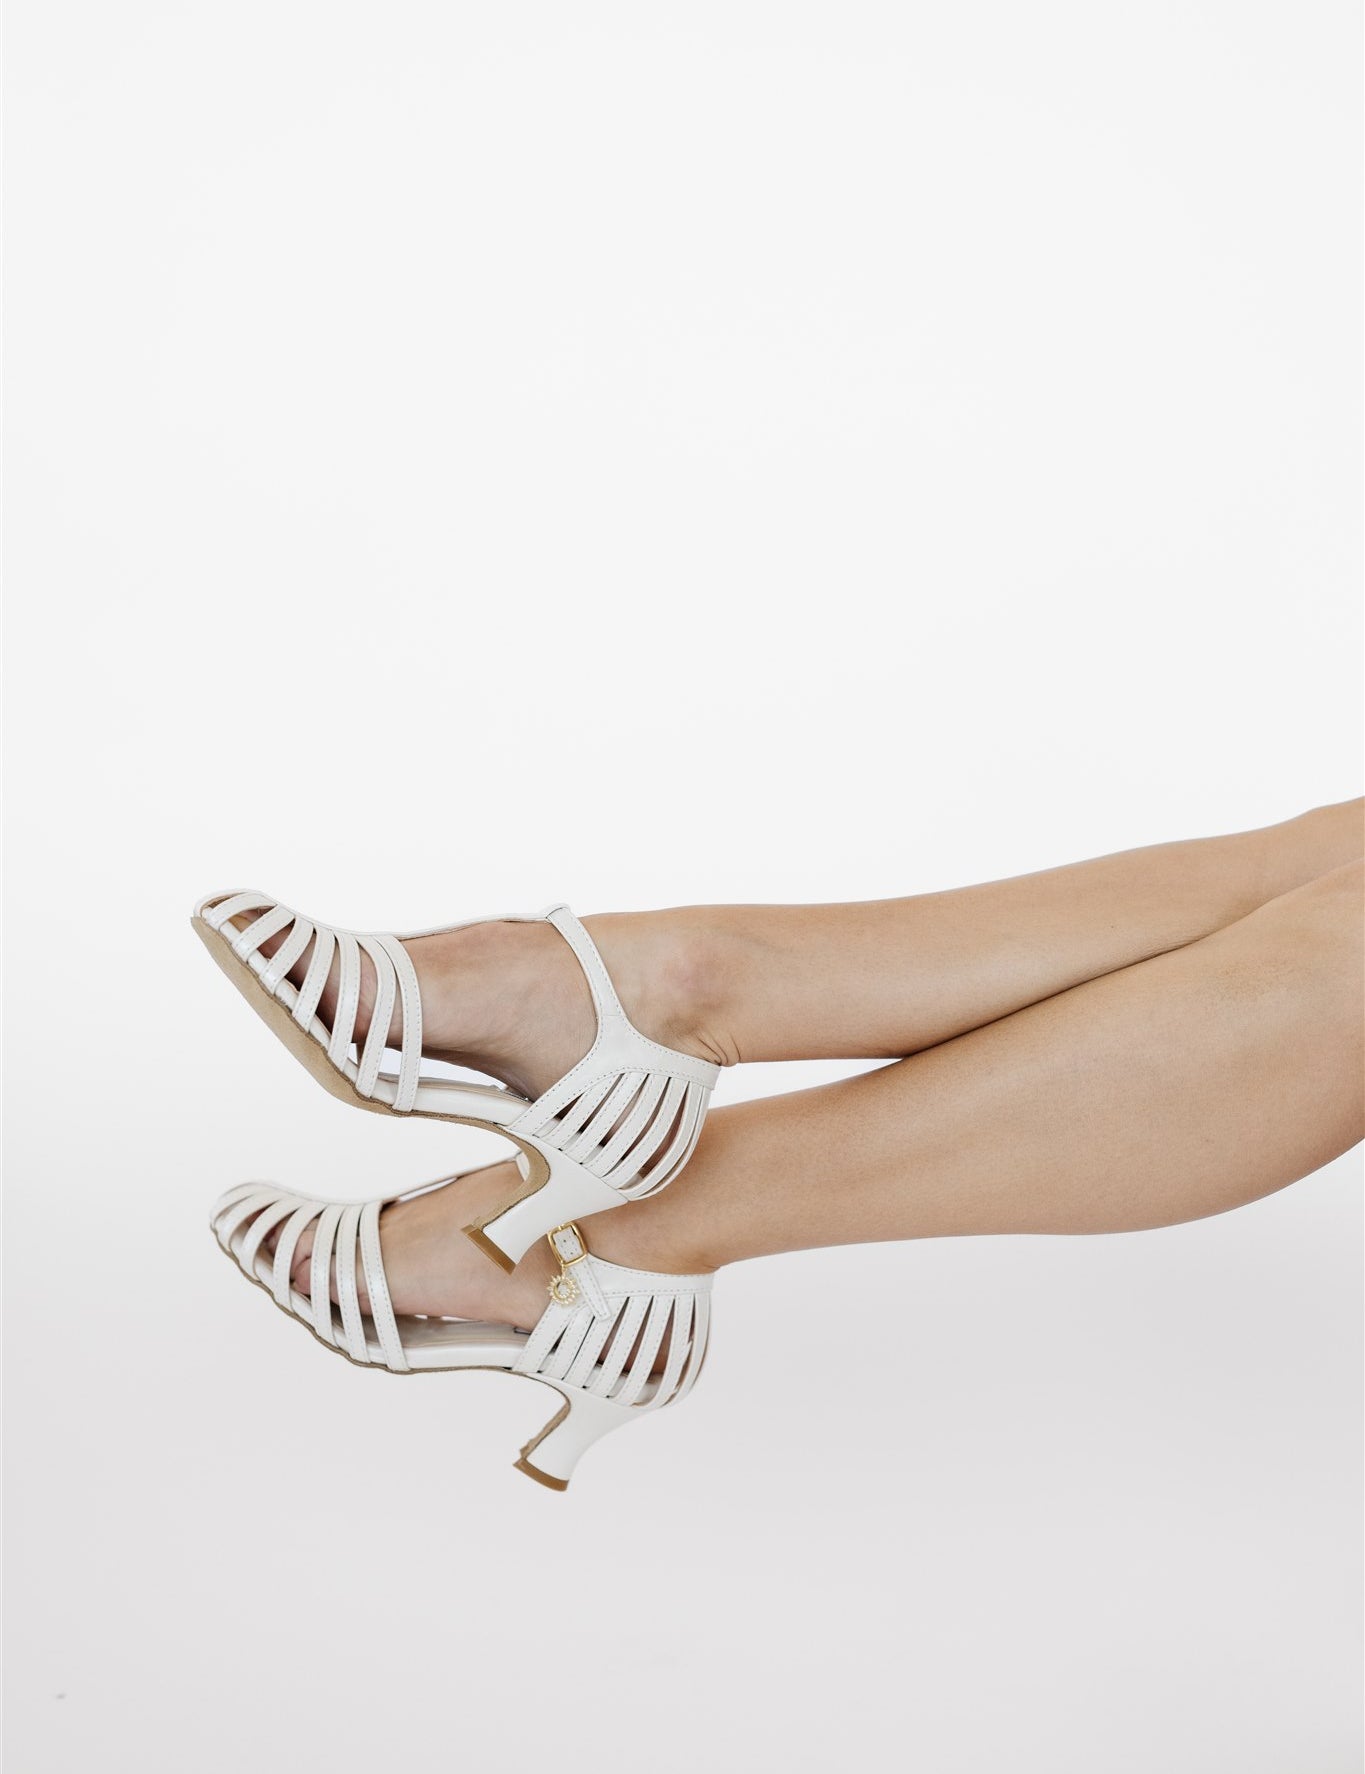
Pointing the free foot:
Creates a longer, cleaner line
Improves balance through the body
Instantly elevates the dip from “nice” to photo-ready
A flexed foot breaks the line and makes the dip look heavier and less controlled.
And here’s the part most people don’t realize:
You cannot properly point your toes if your shoes don’t allow it.
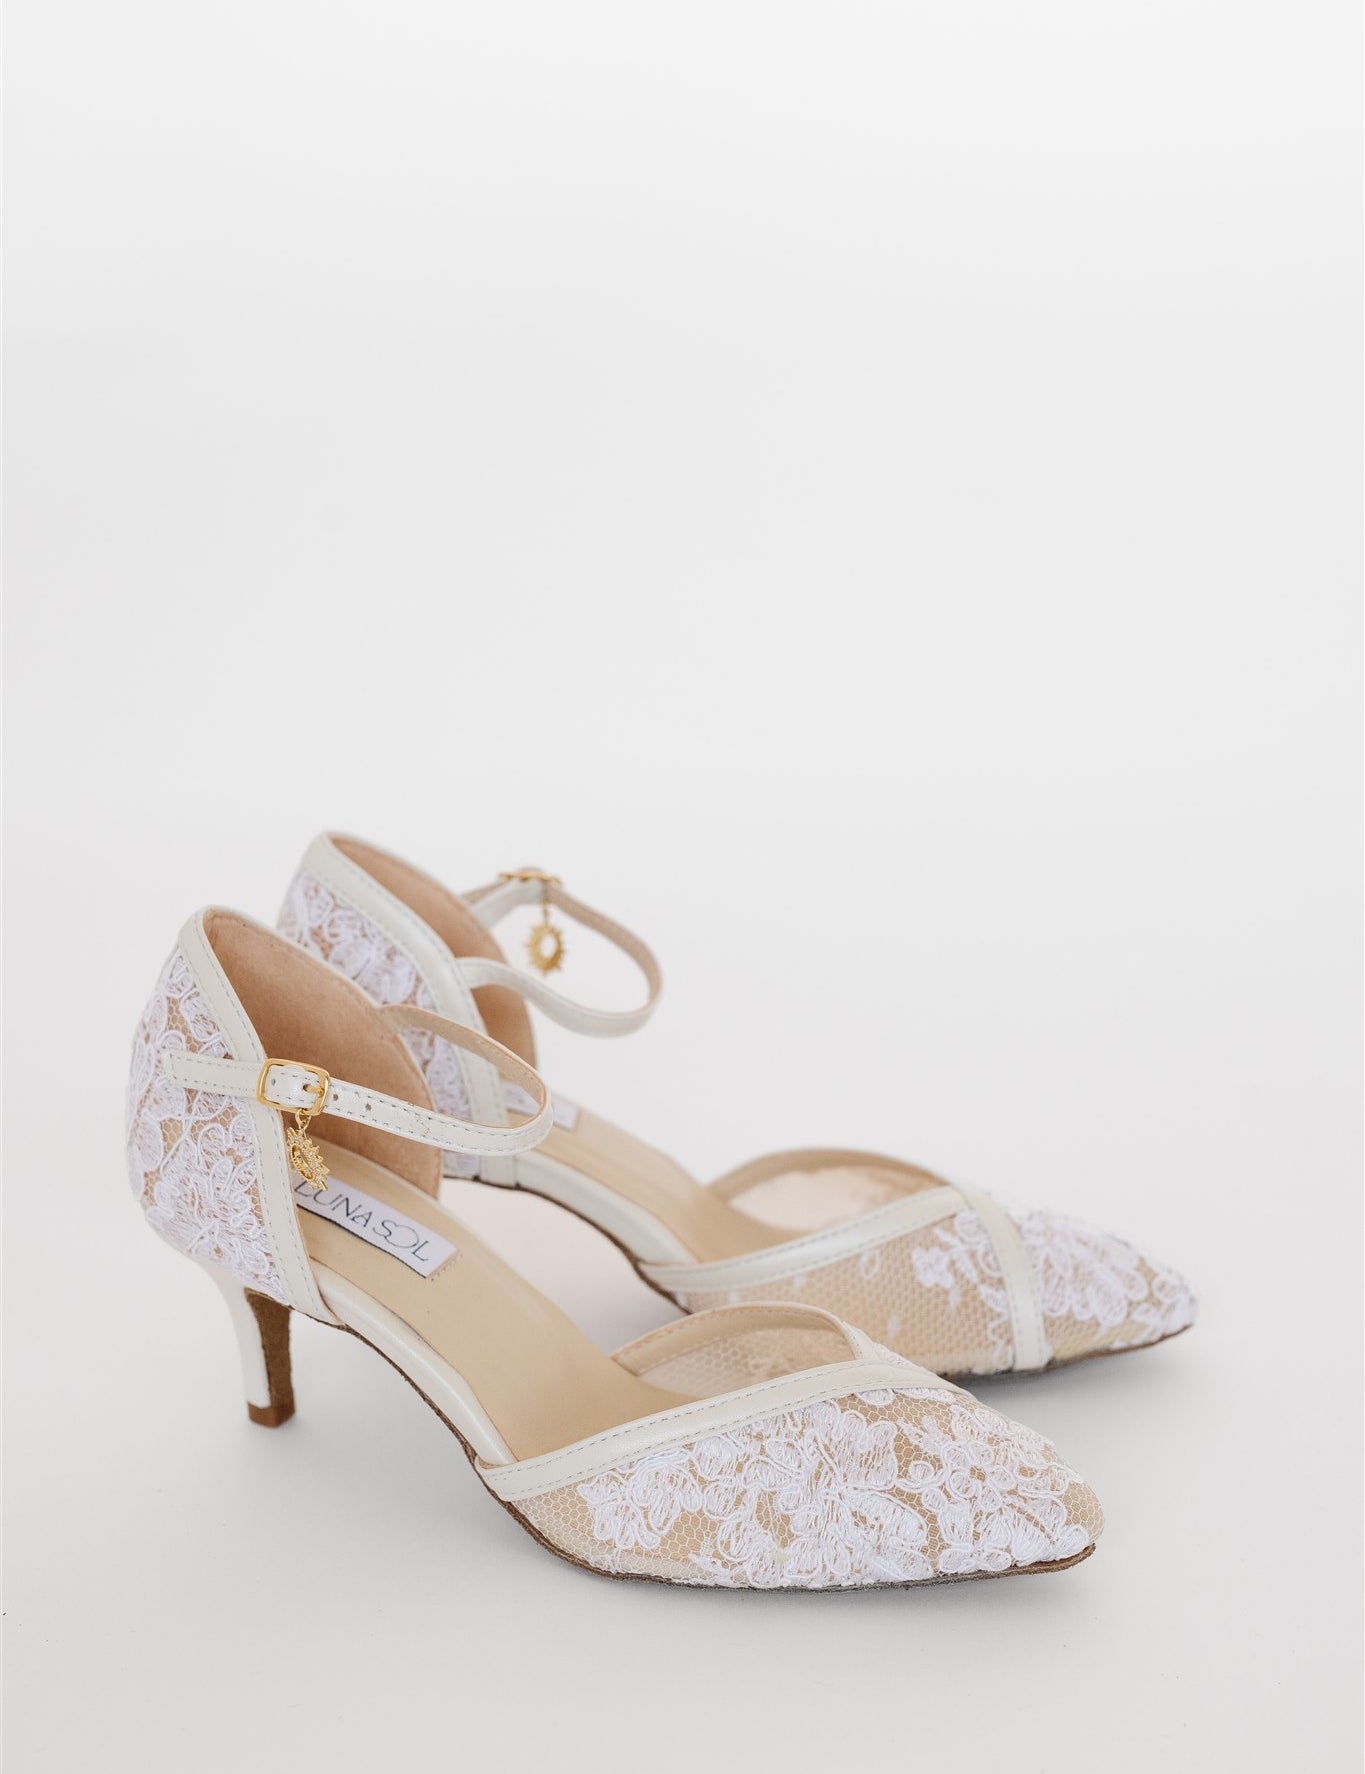
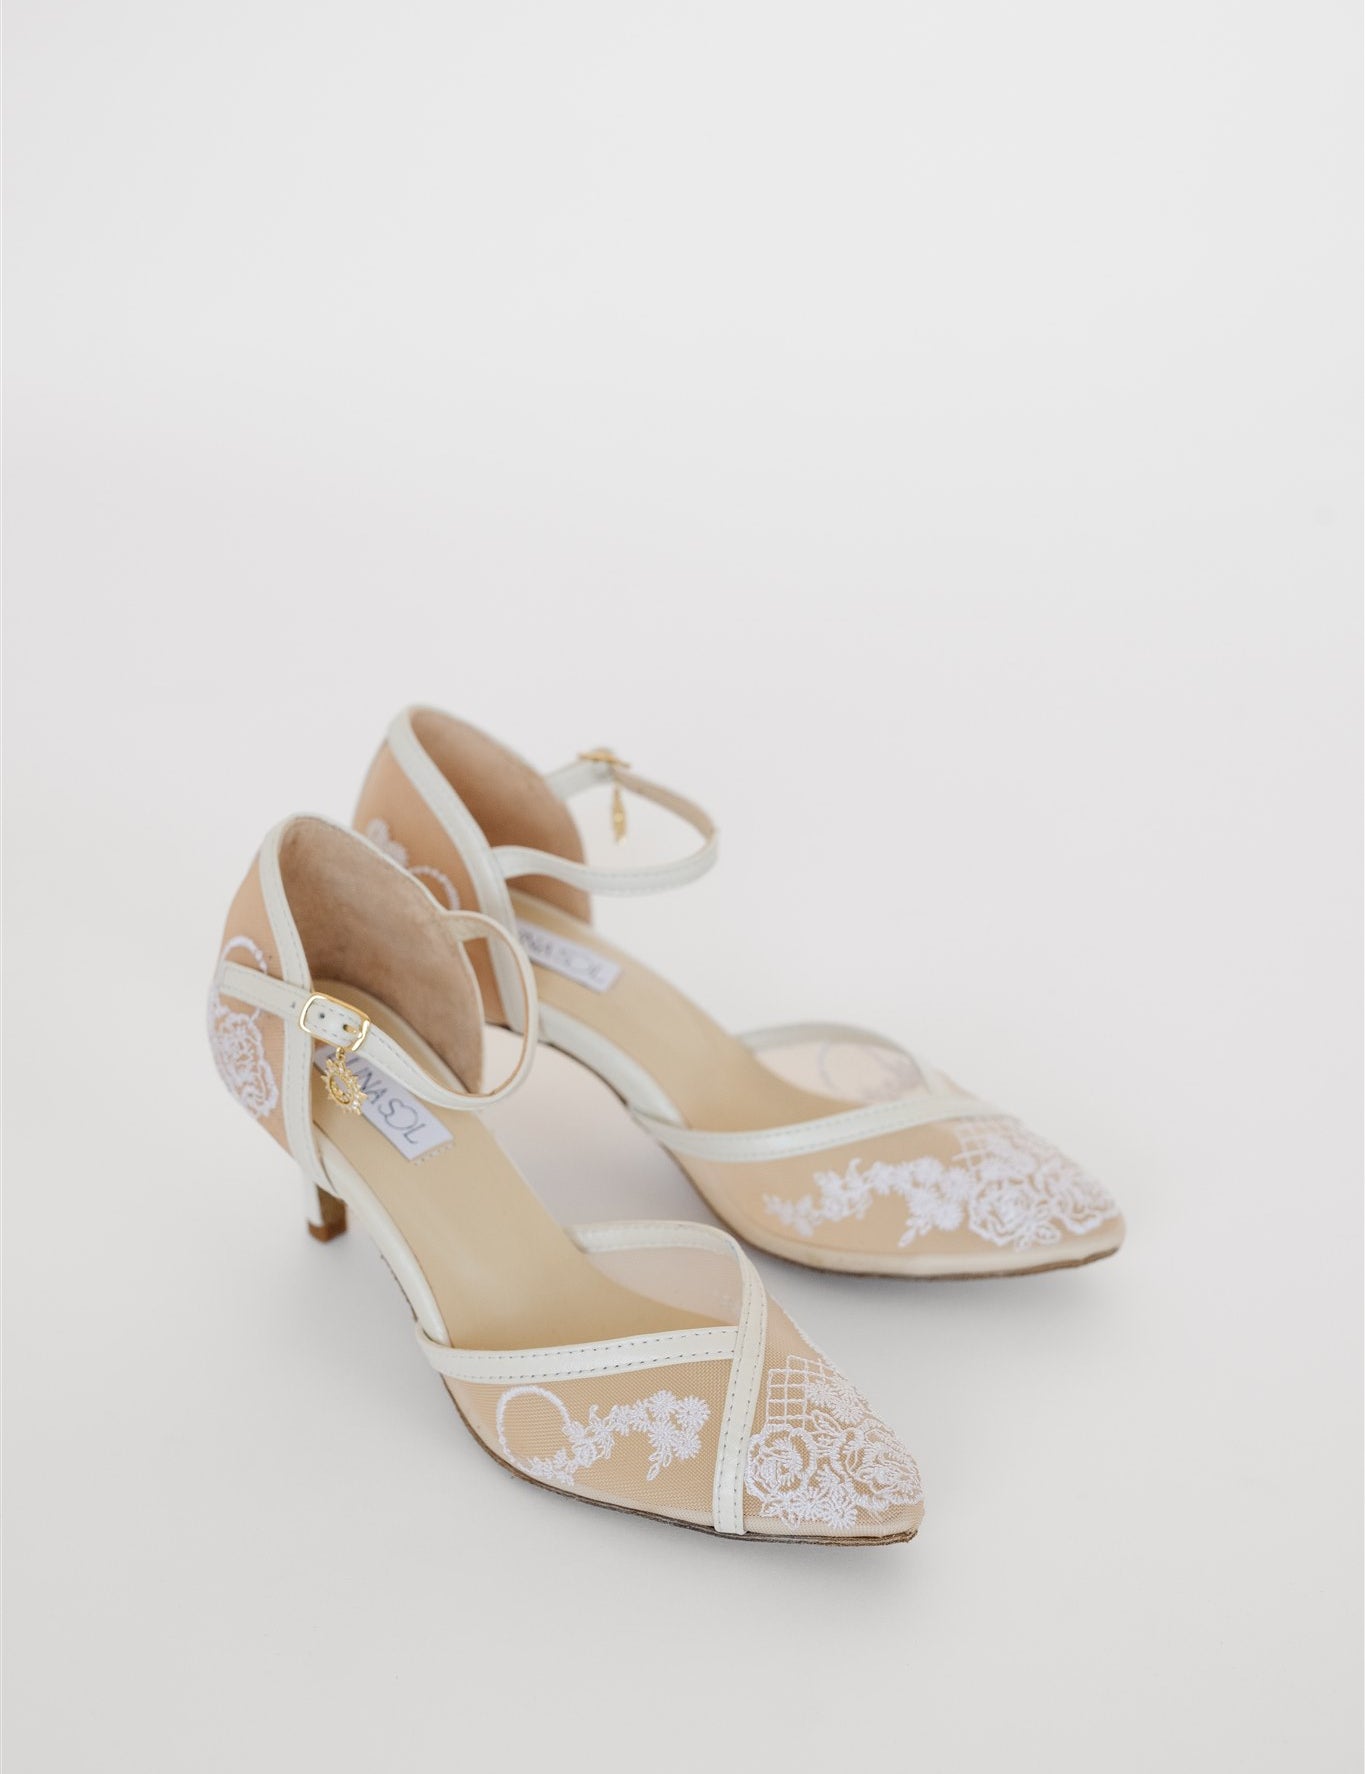
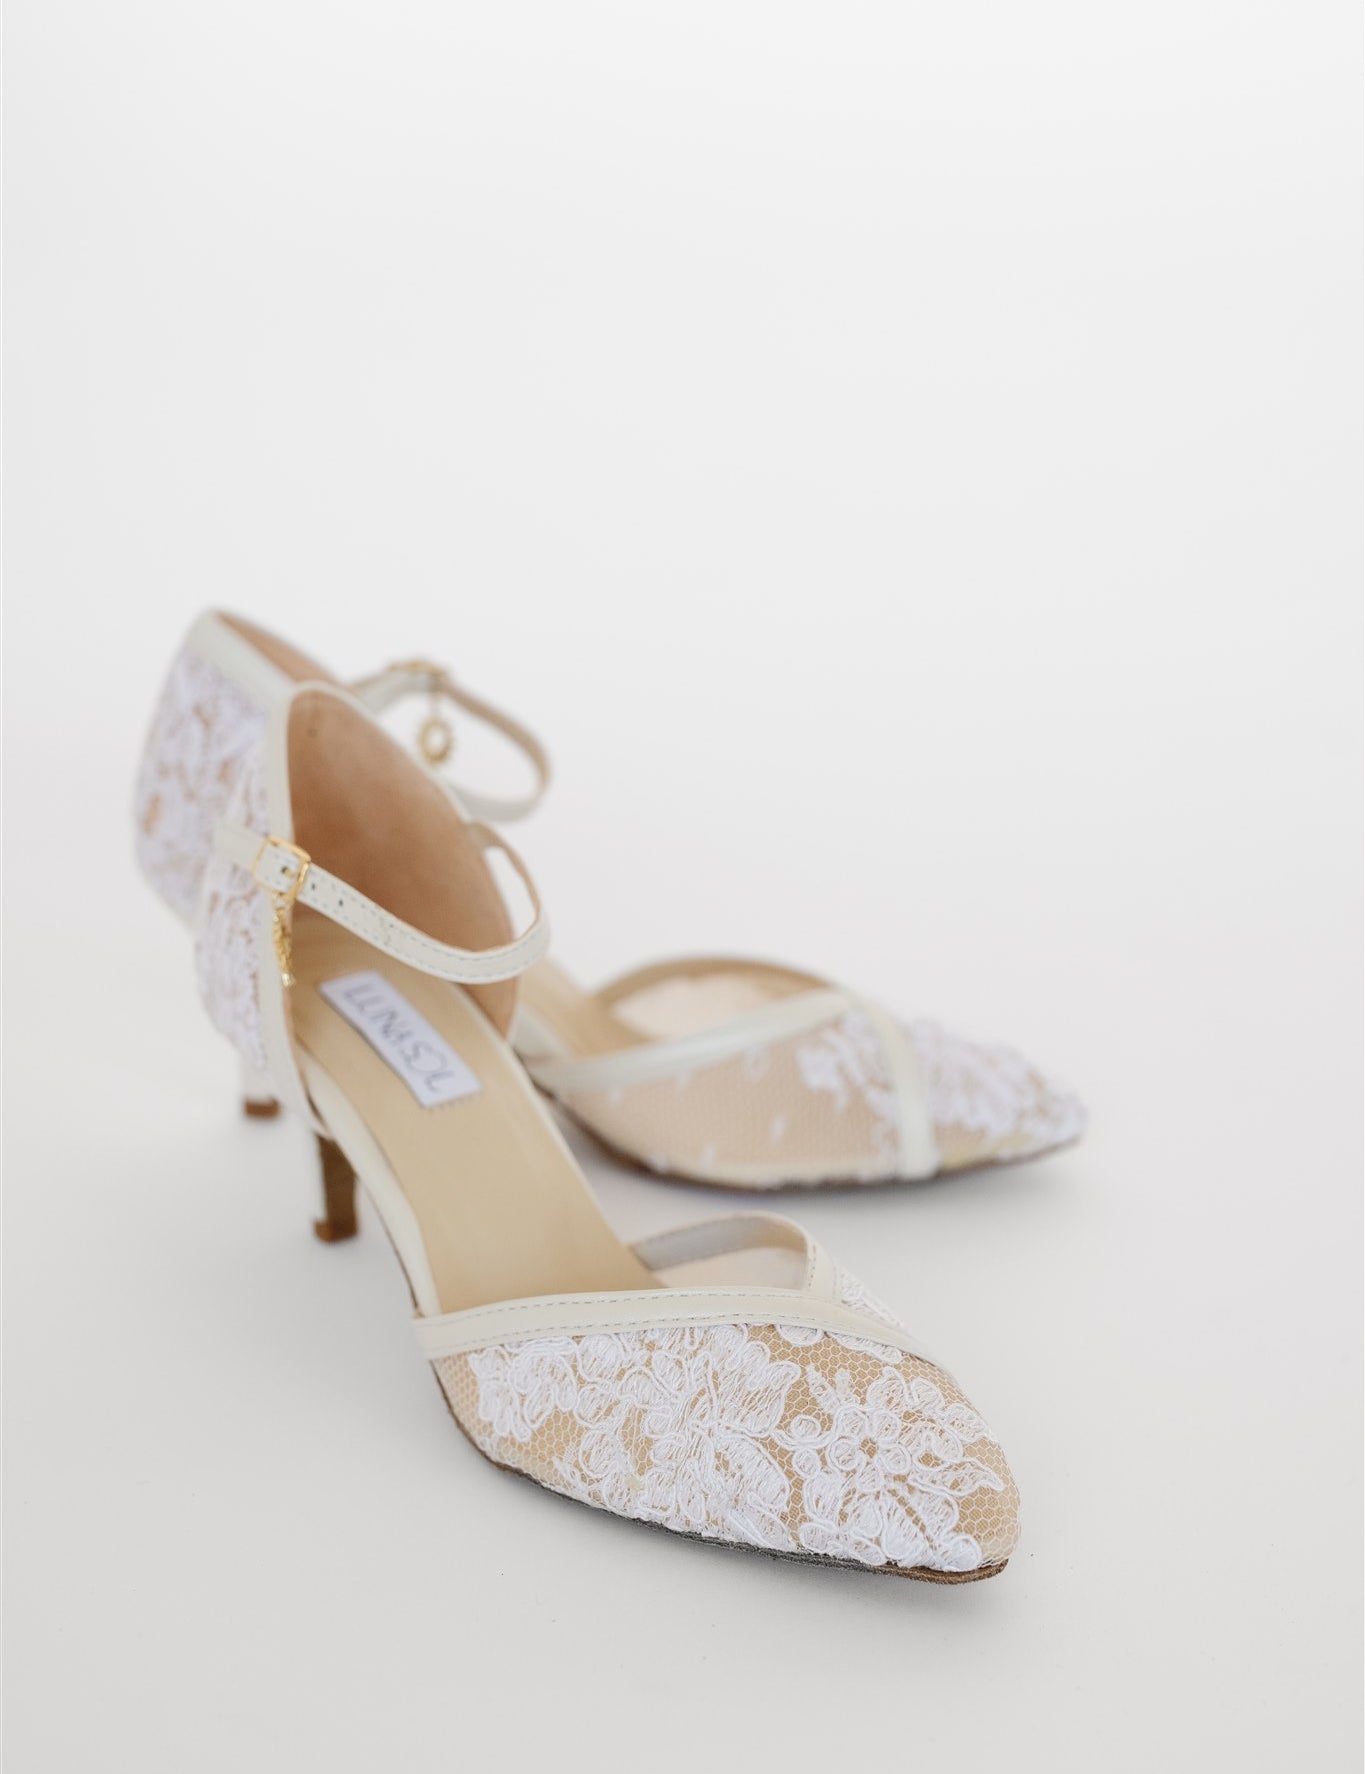
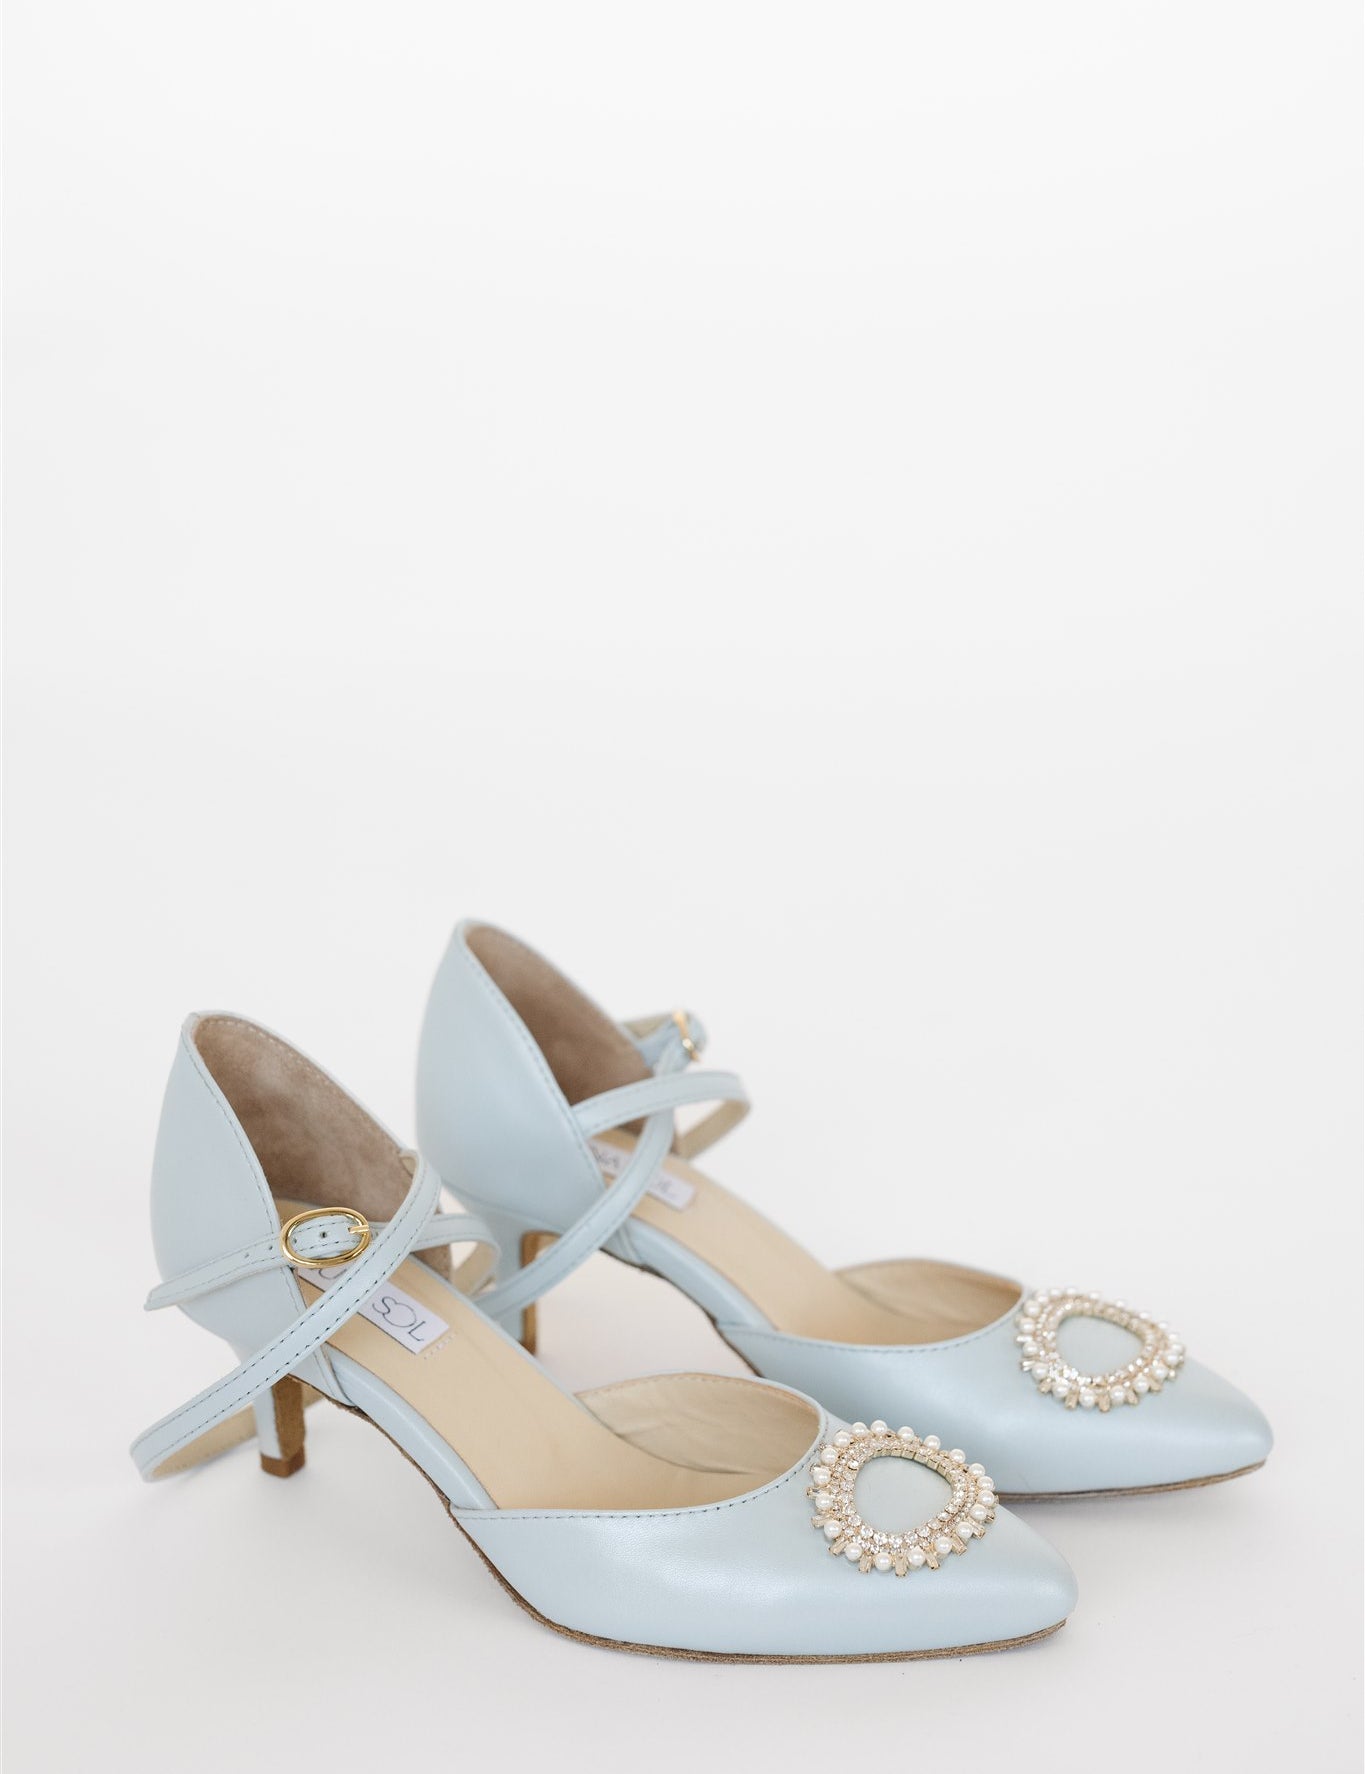
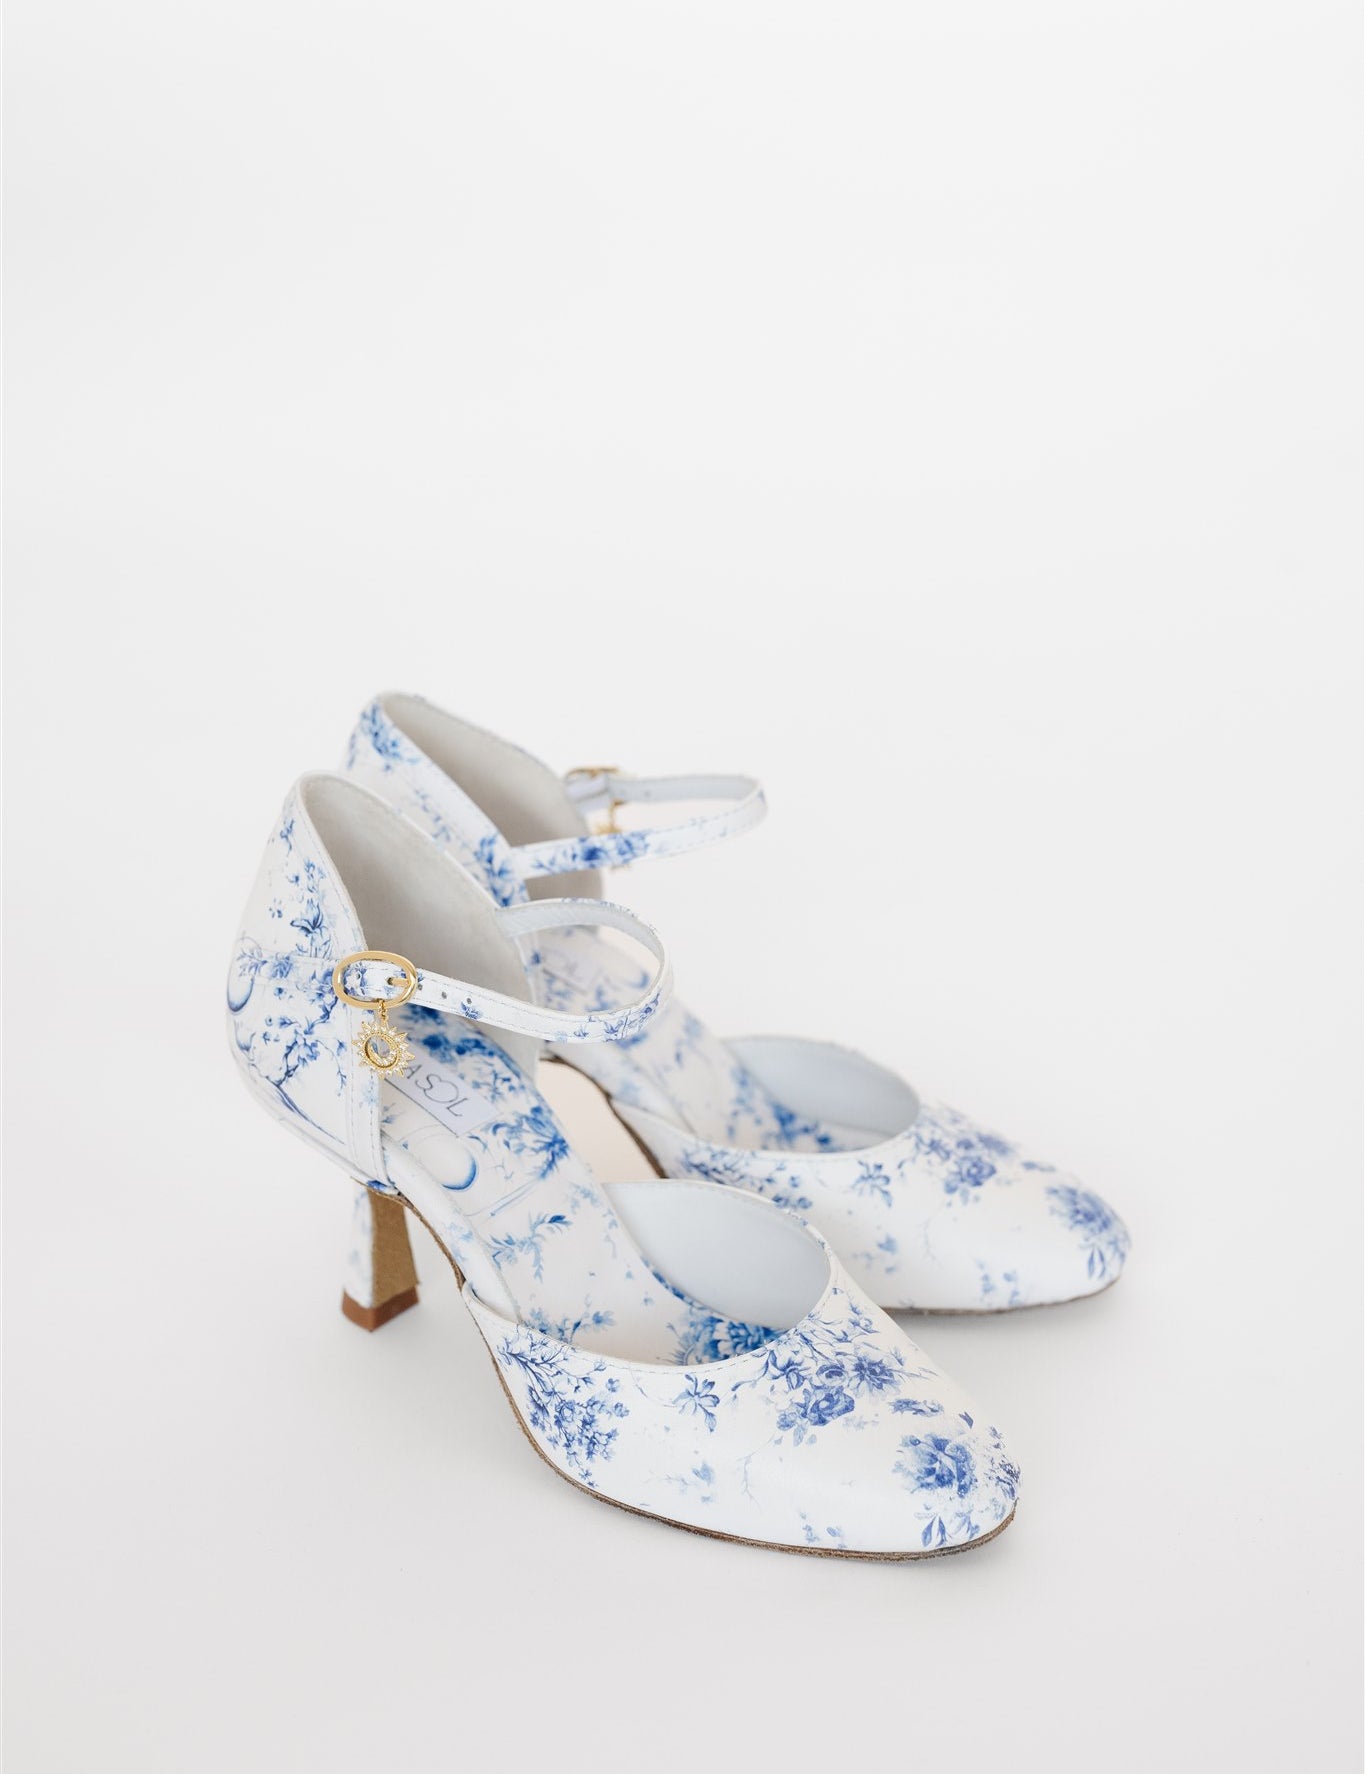
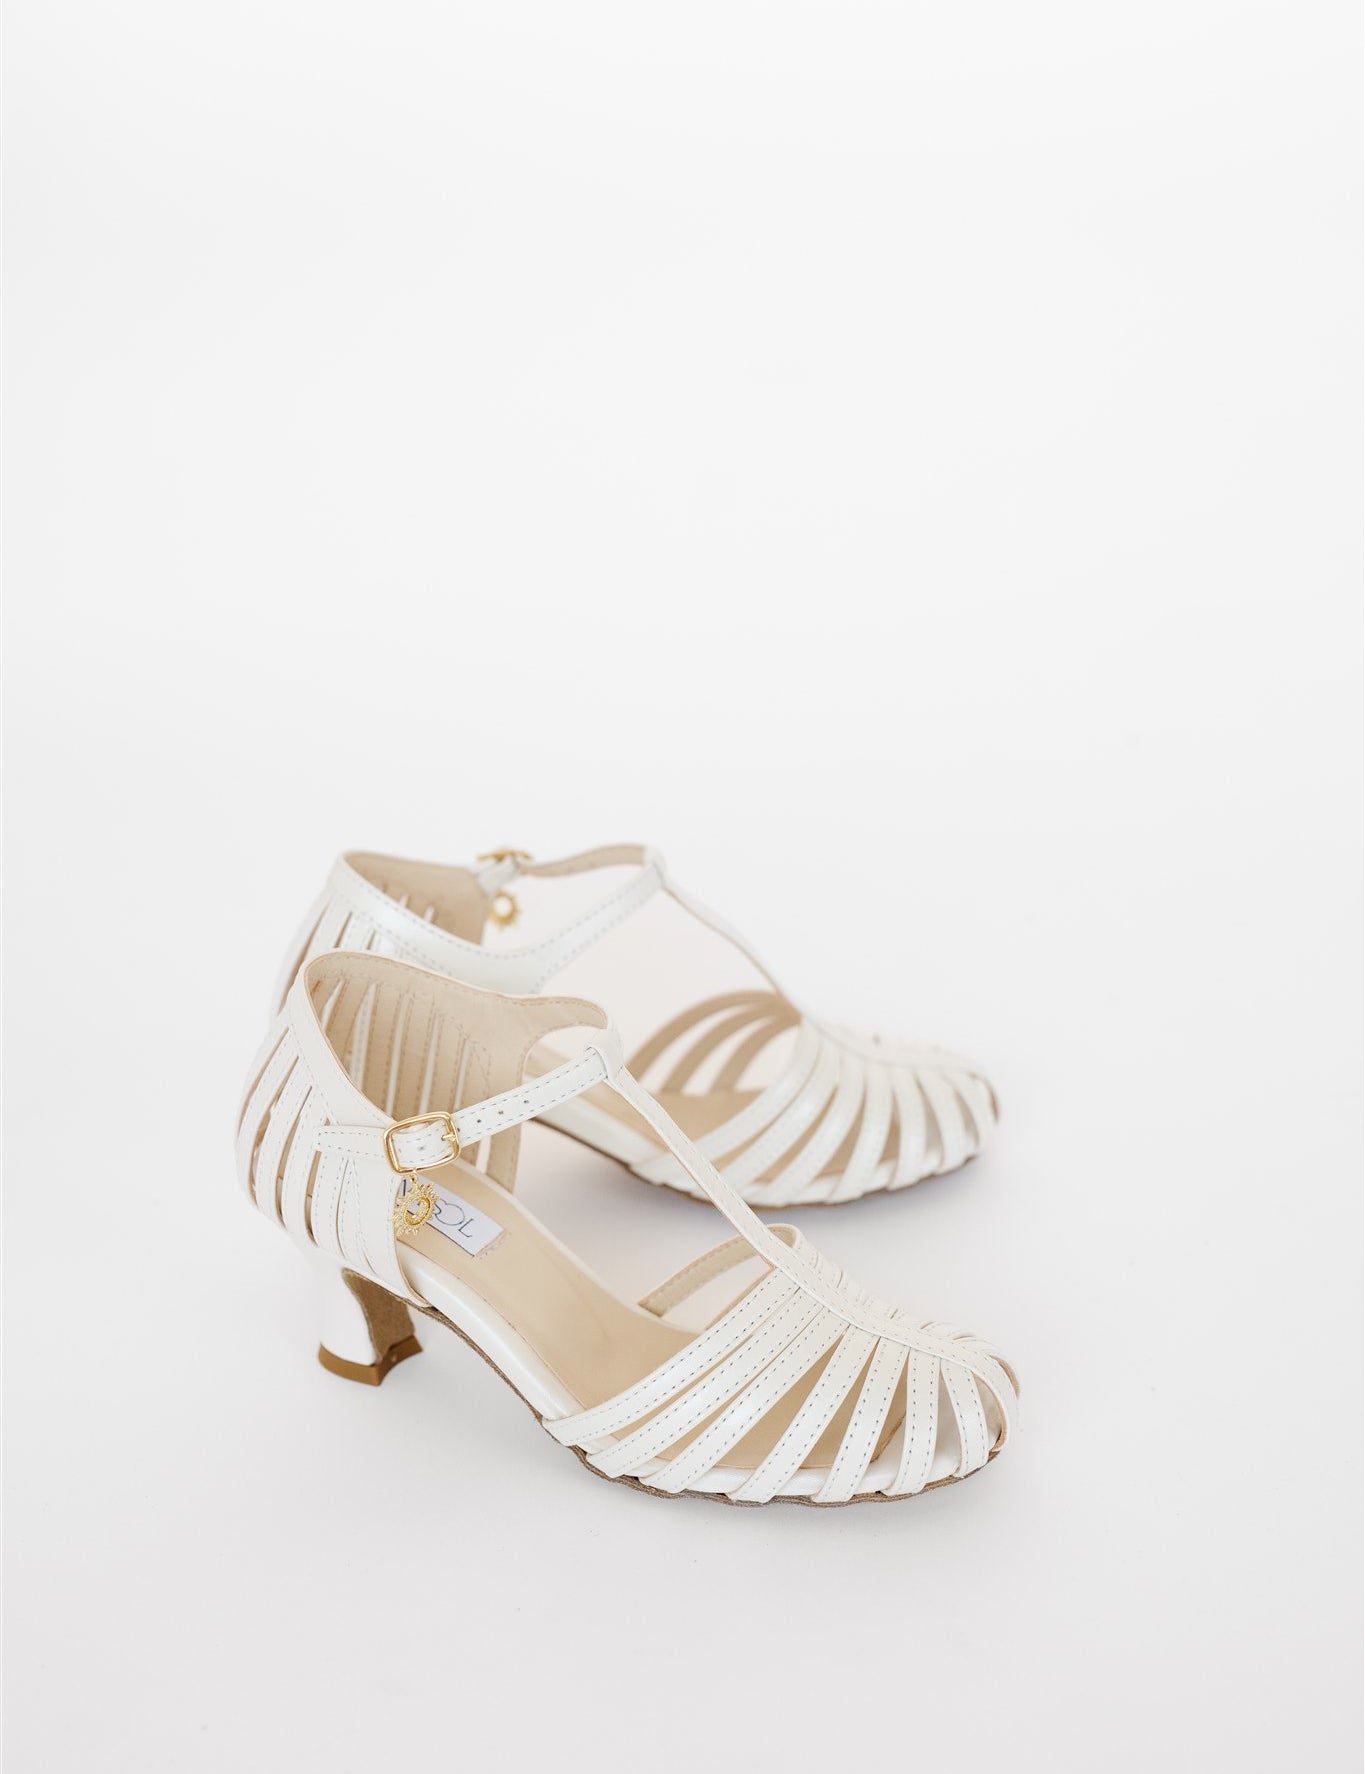
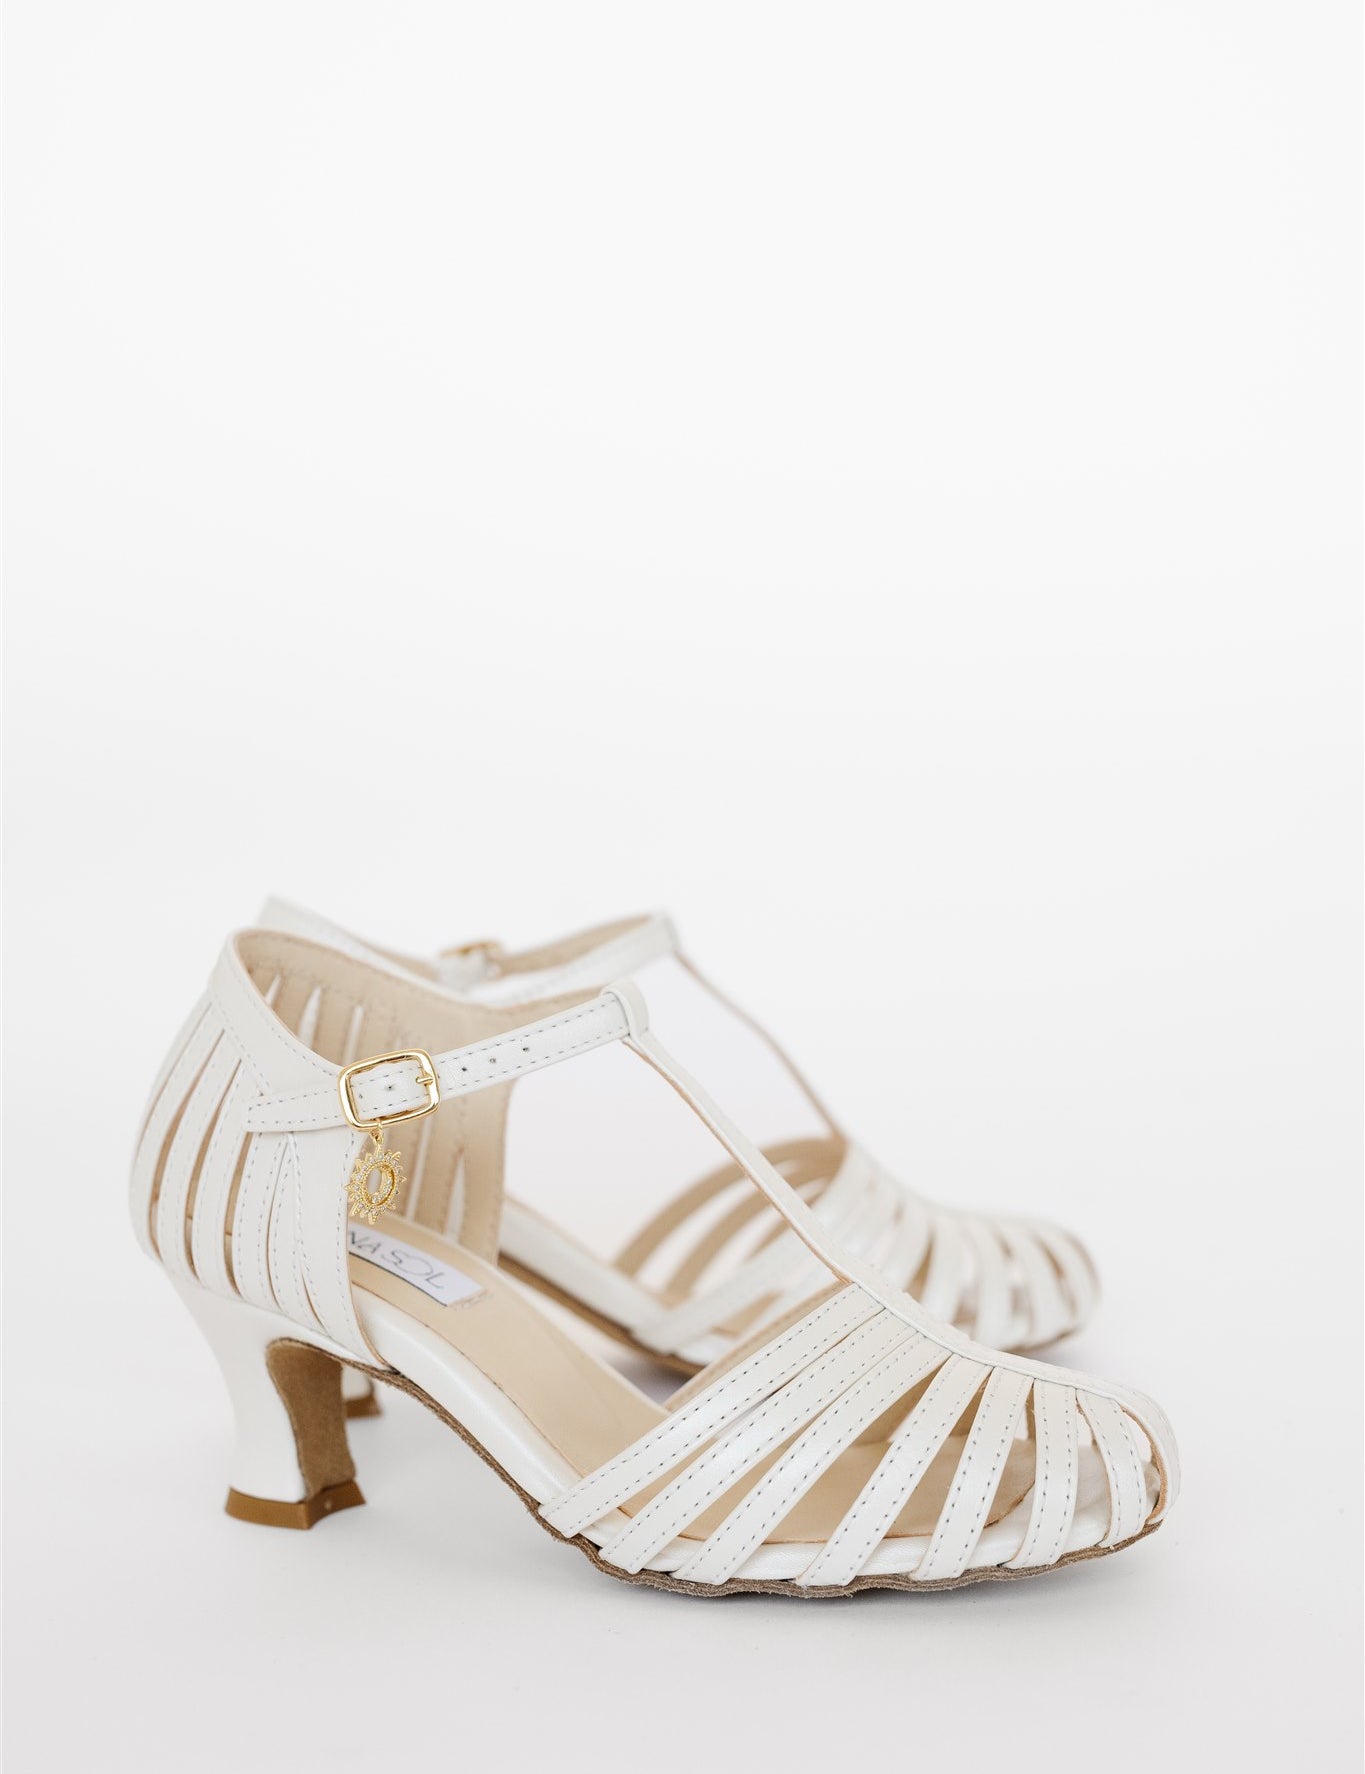
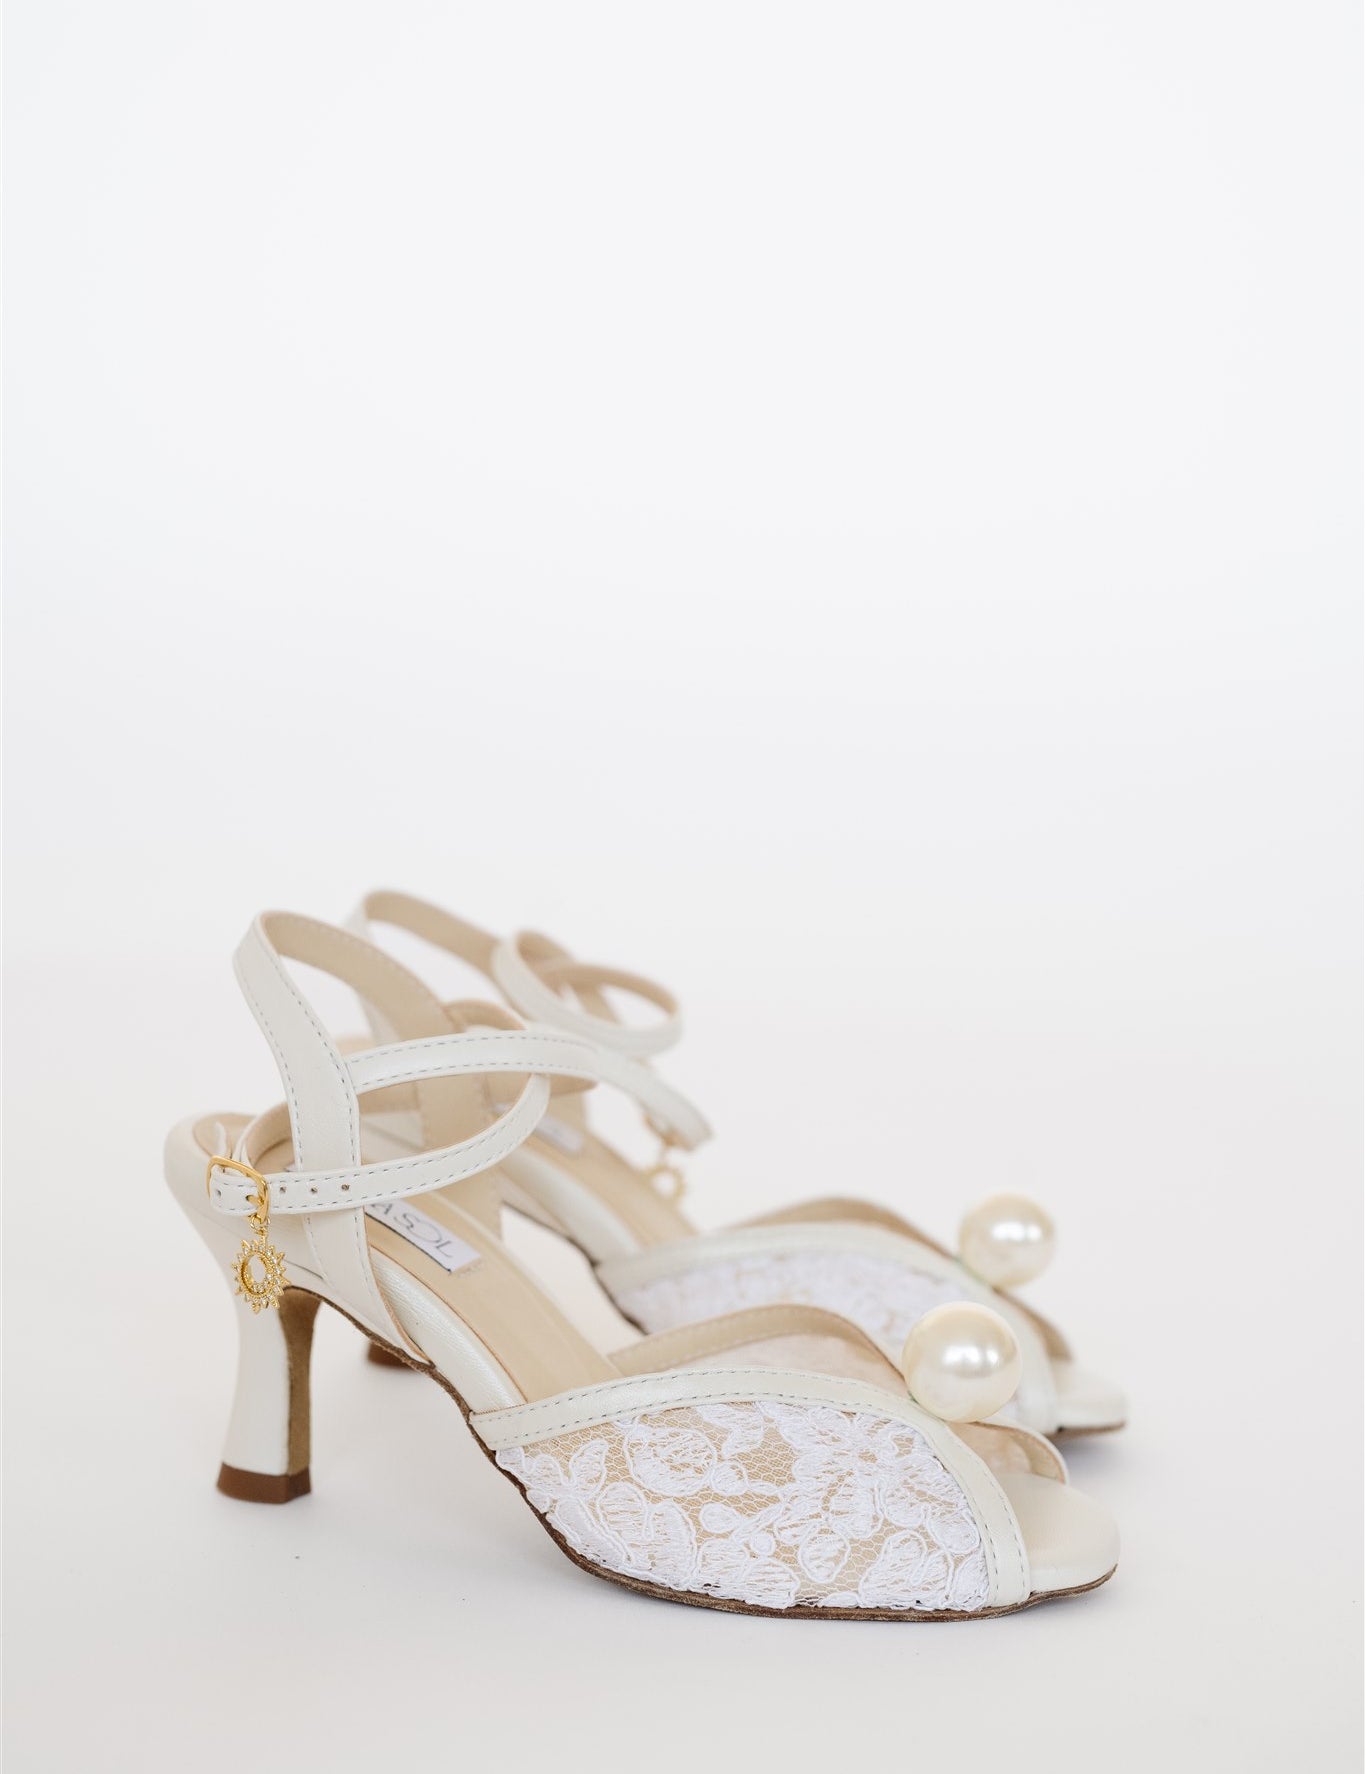
That’s why Anna wears LunaSol Dance Shoes, designed with the construction of professional dance shoes:
Flexible soles that allow natural foot articulation
Secure straps so the shoe stays on when you point
Stable heels that keep you grounded as you dip lower
When your feet can move properly, the rest of your body follows.
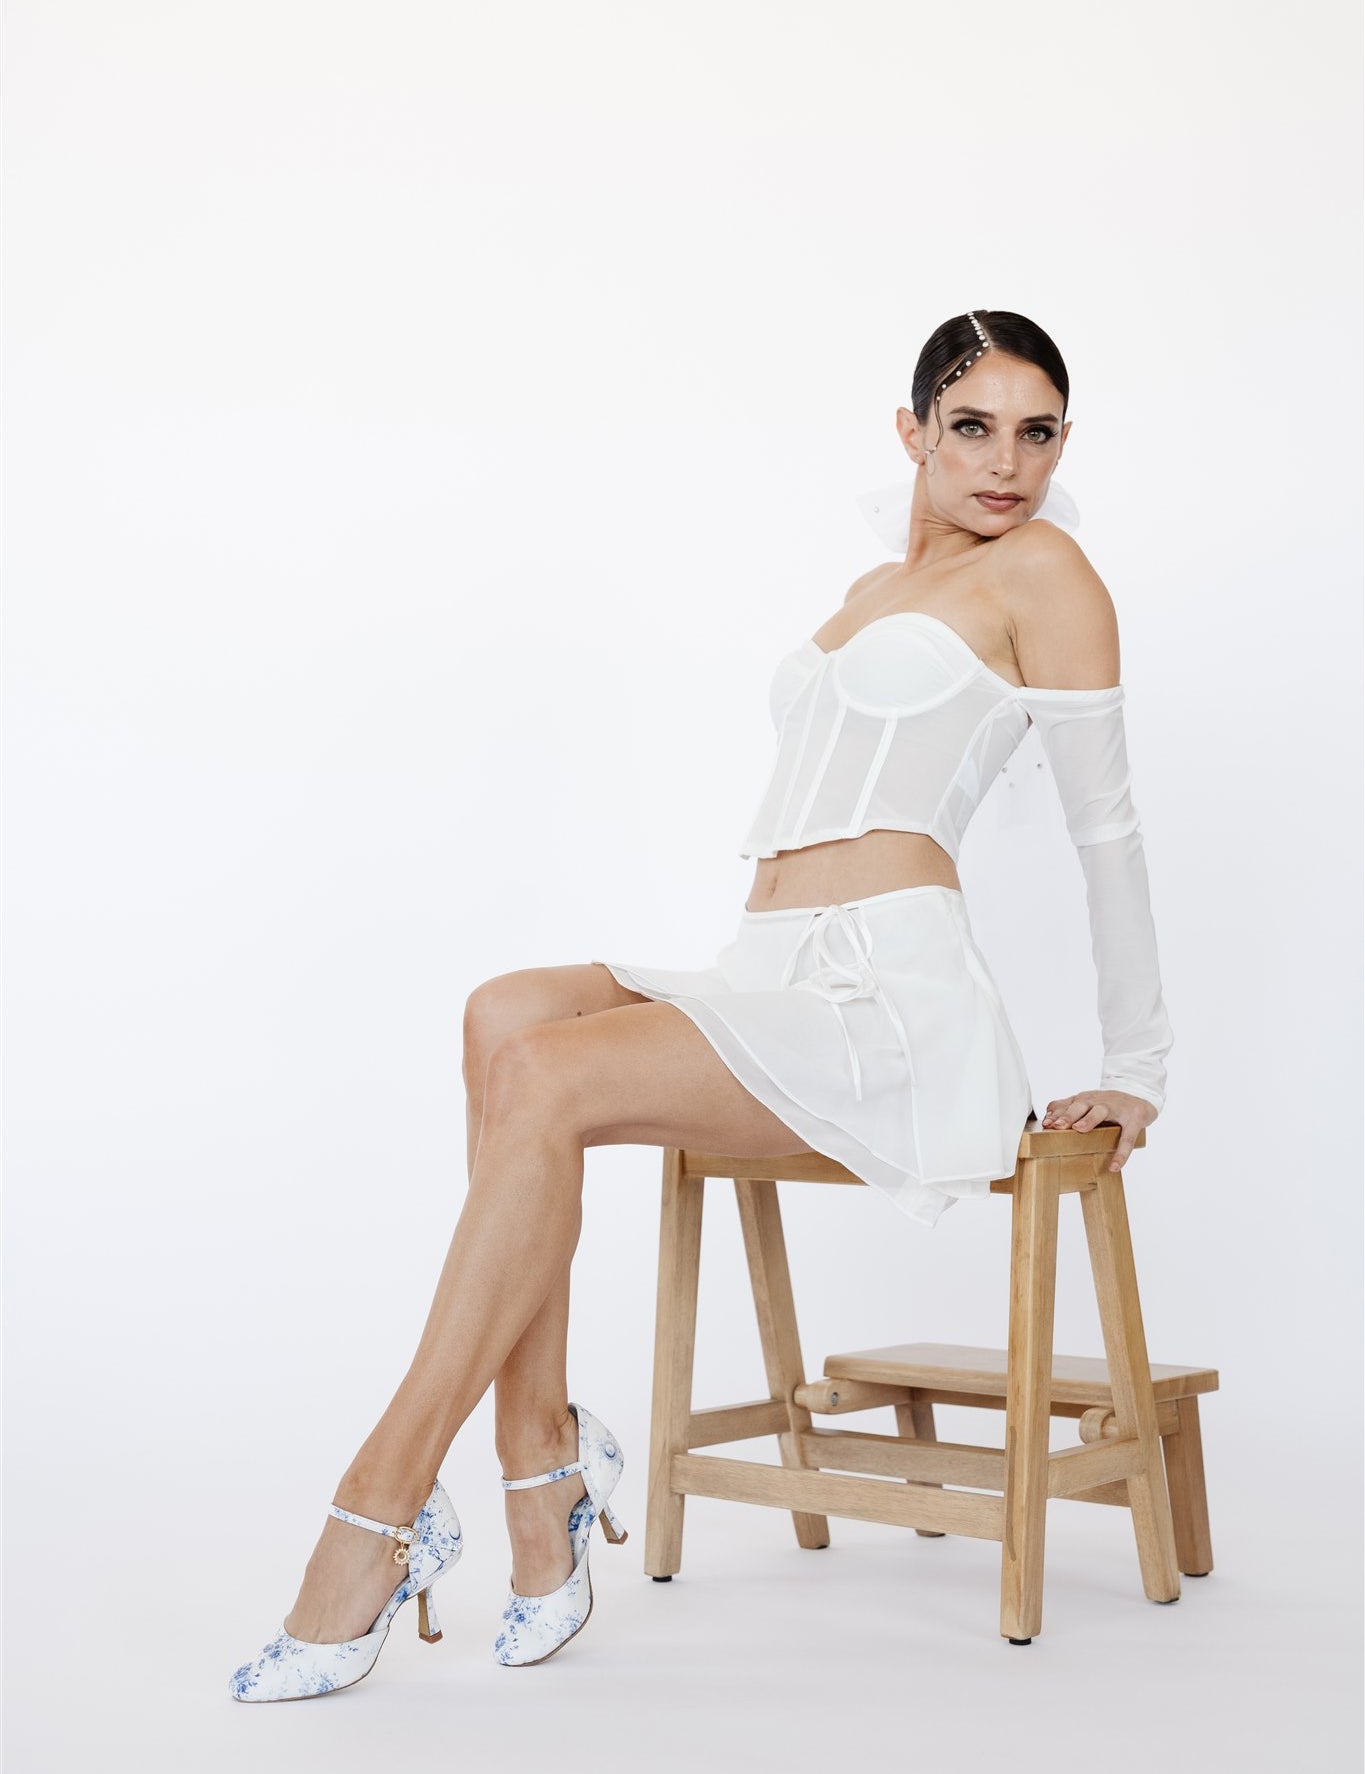
This dip—and really, your entire first dance—is easier when your shoes work with you instead of against you.
LunaSol shoes are designed for:
Comfort from aisle to afterparty
Smooth gliding and spinning
Stability during dips, turns, and lifts
They’re handmade in Portugal from premium, buttery-soft leather and built for real movement—not just standing still.
👠 Shop Anna’s Shoes:
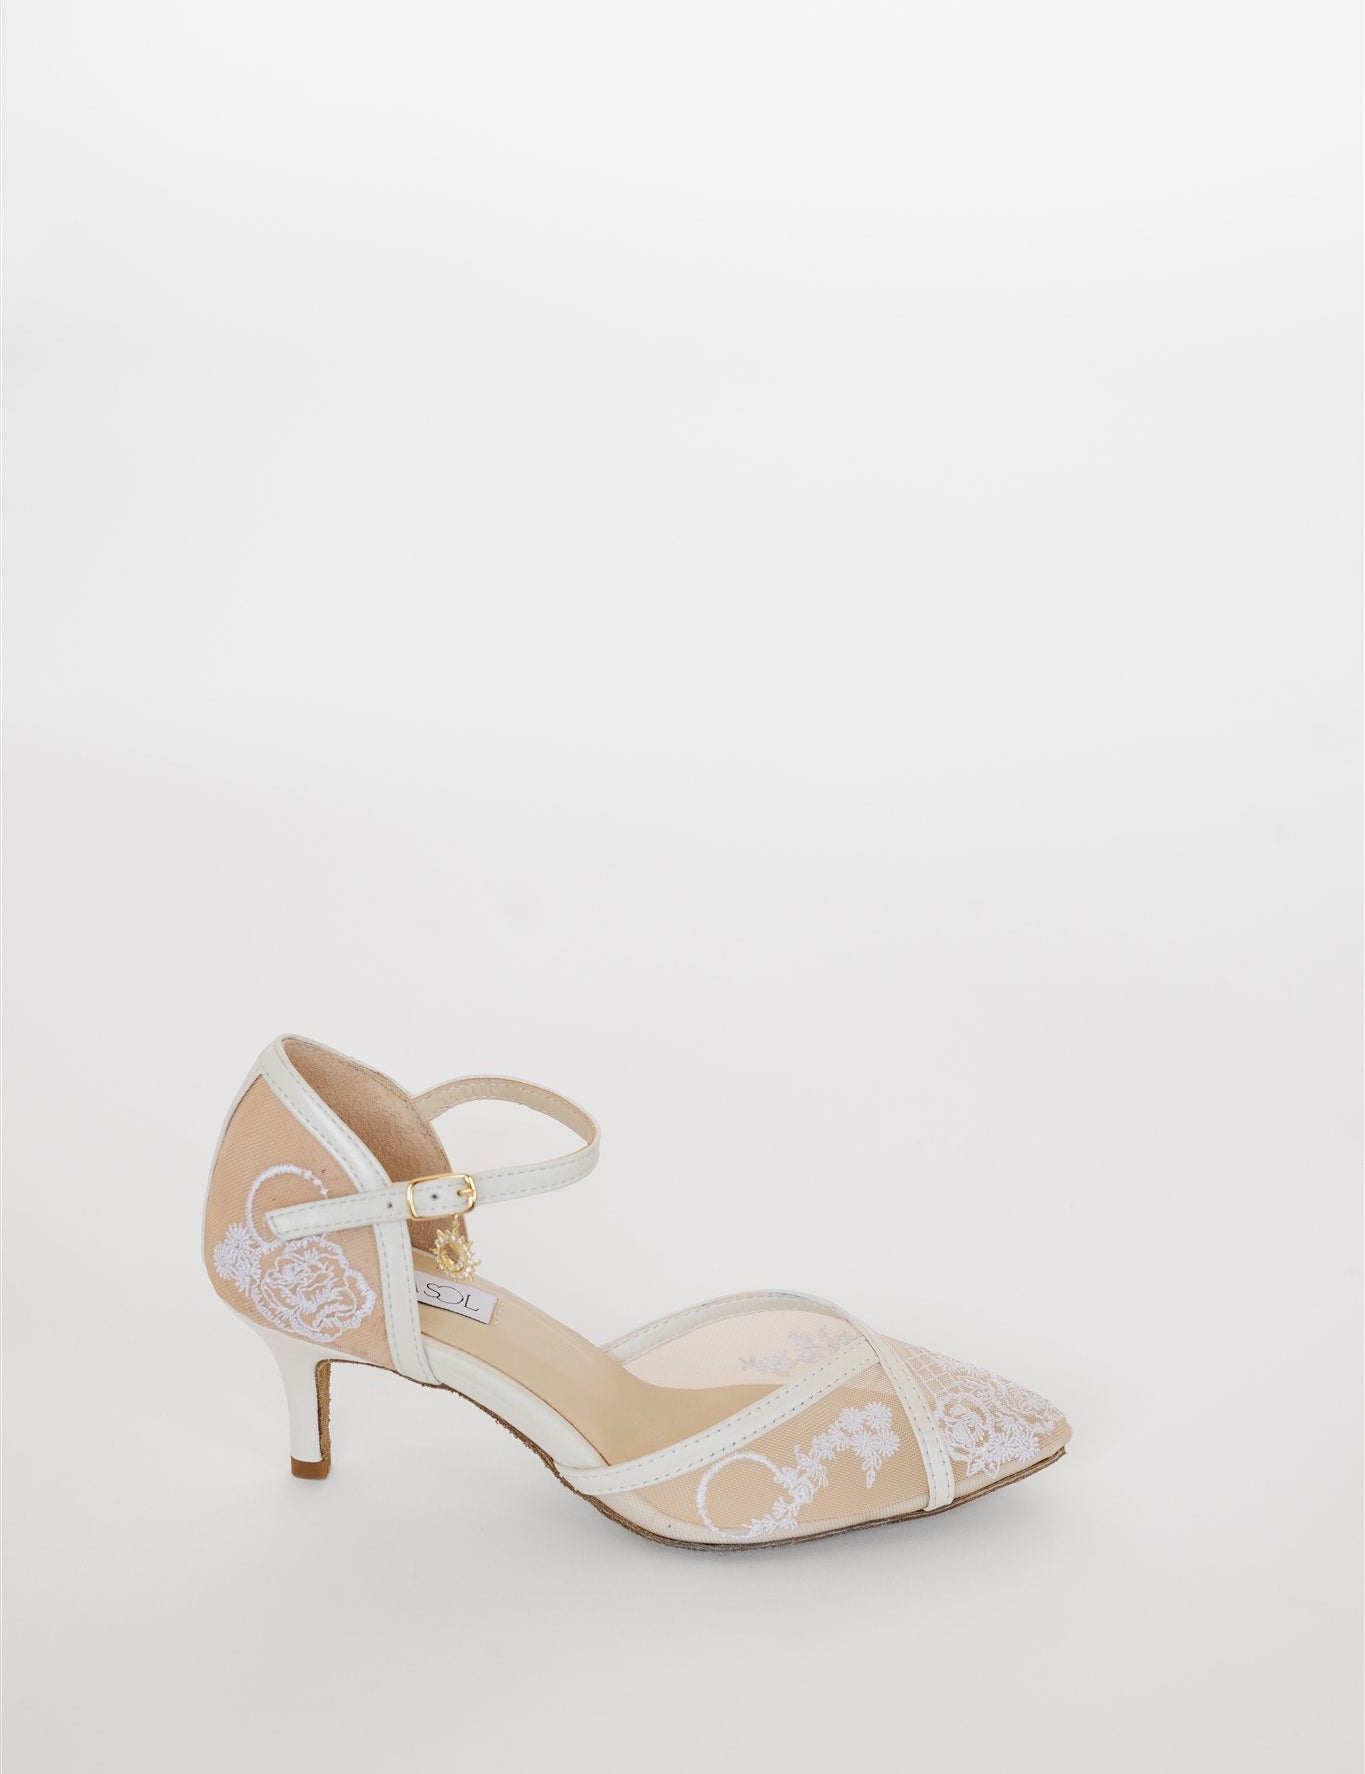
Anna is wearing LunaSol Lace Ballroom shoes in Embroidery:

Anna dances in LunaSol shoes because they've got all the features of professional dance shoes, but look like beautiful non-dance shoes; most dance shoes are NOT cute.
0:00 – Intro
0:21 – Full demonstration
0:35 – Leader’s frame
0:42 – Follower’s steps
1:25 – Comfort & balance tips
1:45 – Why the right shoes matter
Dancers: Anna Trebunskaya & Yaro Kildishov
Venue: 440 Elm
Videography: Steven Dorn Films
Planning: Master Plans Events
Hair & Makeup: Christy Yoo Artistry
Candles: Flora Sky
Linen & Napkins: Luxe Linen
Tabletop Rentals: Premiere Party Rents
Save this tutorial. Send it to your dance partner.
Mastering one great dip is often all it takes to make your first dance unforgettable 🤍

Dance Shoes Made to Keep Up With Every Step
Shoes for Brides Who Plan to Dance All Night
Step into comfort, style, and a future of better dance moves. Shop wedding shoes made for ceremonies, receptions, and everything in between